Digital paint by numbers on iPad, explained
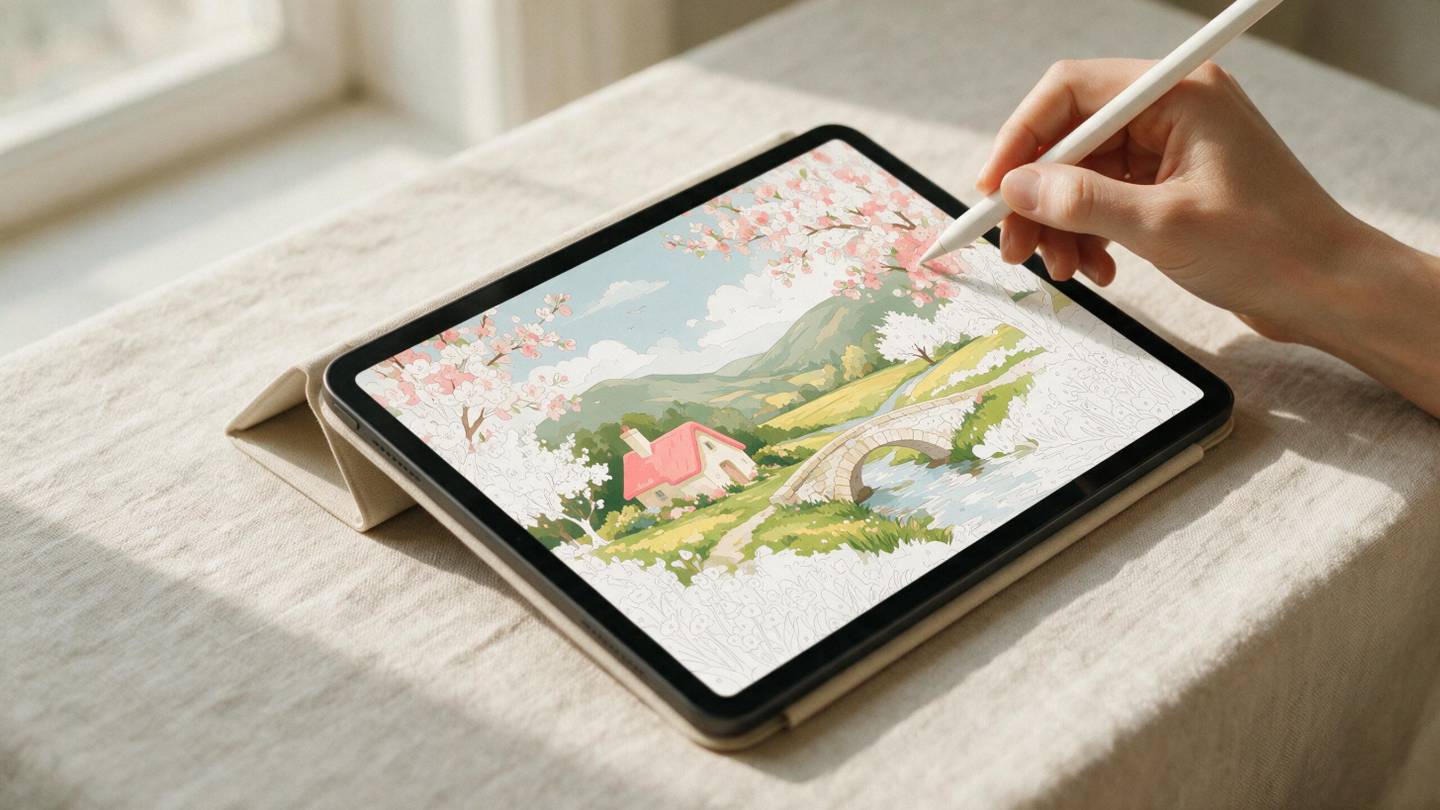
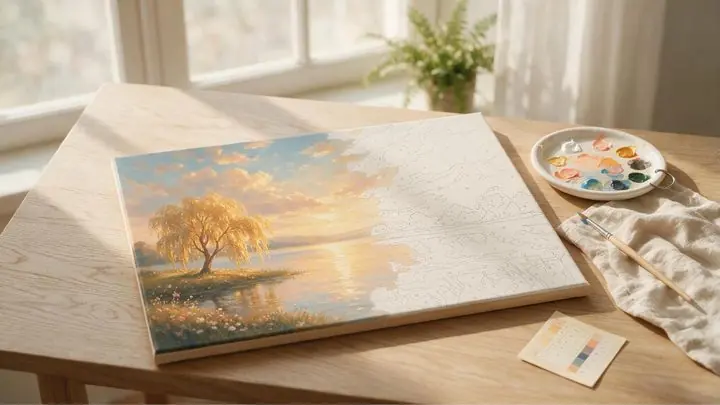
A digital paint-by-numbers file is not an app and it is not a game. It is an image — a line drawing split into numbered regions, plus a key telling you which colour each number is. You open it in a painting app and fill the regions in. That is the whole idea, and once you have done one canvas the workflow takes about thirty seconds to set up.
The reason people get stuck is that nothing tells you which app to use or what the settings should be. So here is the practical version.
What you actually get in the file
A well-made digital paint-by-numbers download usually contains three things:
- The numbered canvas. A high-resolution PNG or PDF of the outlined artwork with a number printed inside every region.
- The colour key. A chart mapping each number to a specific colour — ideally with hex codes, so you can match them exactly rather than eyeballing.
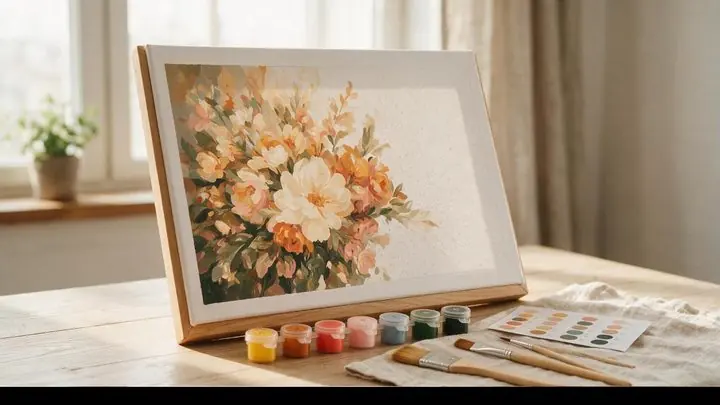
- A finished preview. The completed painting, so you can see where you are heading.
Resolution matters more than people expect. Anything under about 3000 px on the long edge will show soft, fuzzy region edges once you zoom in on an iPad, and soft edges are exactly what makes flood fill misbehave. Look for files described as 300 DPI or 4000 px and up.
What you need
An iPad, a stylus, and a painting app that supports layers and a fill tool. That is it. A stylus is not strictly required — you can tap regions with a finger — but for small numbered areas it saves a lot of squinting.
Apps that work well
- Procreate — the most common choice. Layers, a colour-drop fill, adjustable fill threshold, and a palette you can load with your exact colours.
- Adobe Fresco — free tier is generous, has a proper fill tool, syncs with Creative Cloud.
- Infinite Painter and Sketchbook — both have fill tools and both handle large canvases comfortably.
- Any desktop app — Photoshop, Affinity Photo, Krita and even free web editors like Photopea will do the same job if you would rather work on a laptop.
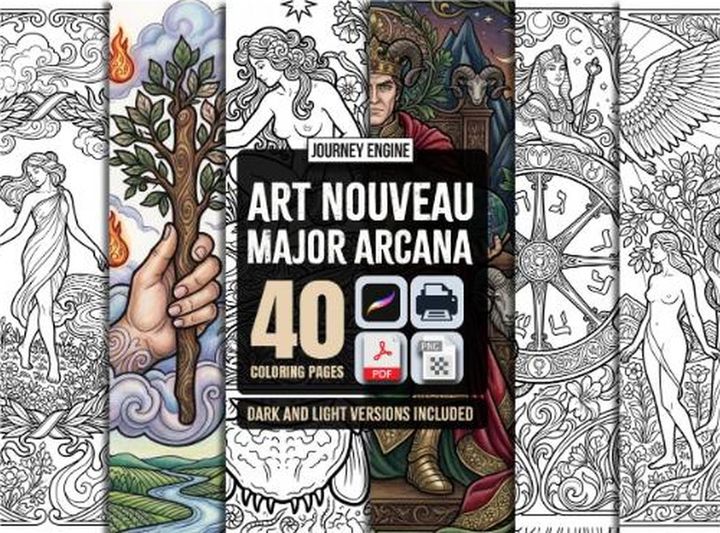
One thing to check before you buySome “digital paint by numbers” products are actually PDFs meant for printing, not for painting on screen. If you want to paint on an iPad, make sure the listing says PNG or mentions Procreate. Journey Engine kits ship as high-resolution PNGs for exactly this reason.
The workflow, step by step
- Get the file onto the iPad. Download it from your Etsy purchases in Safari — it lands in Files. If it arrives as a ZIP, tap it once to unzip in place.
- Open it in your painting app. In Procreate: Gallery → Import → pick the PNG. The canvas is created at the image's own size.
- Lock the line layer. Your imported artwork is the bottom layer. Set it to Multiply and lock it so you cannot paint on it by accident. Everything you paint goes on layers underneath it, which keeps the outlines and numbers crisp forever.
- Add a paint layer beneath it. One layer is fine. If you want the freedom to redo a colour later, use one layer per colour number instead — slower to set up, much easier to fix.
- Load the palette. In Procreate, tap the colour swatch → Palettes → + → New palette, then add each colour from the key by typing its hex code into the Value tab. Ten minutes of setup that pays for itself immediately.
- Fill. Drag a colour from the palette onto a region — that is Procreate's ColorDrop. Repeat. Work through one number at a time rather than one area at a time; you will make far fewer mistakes.
Fixing the white halo problem
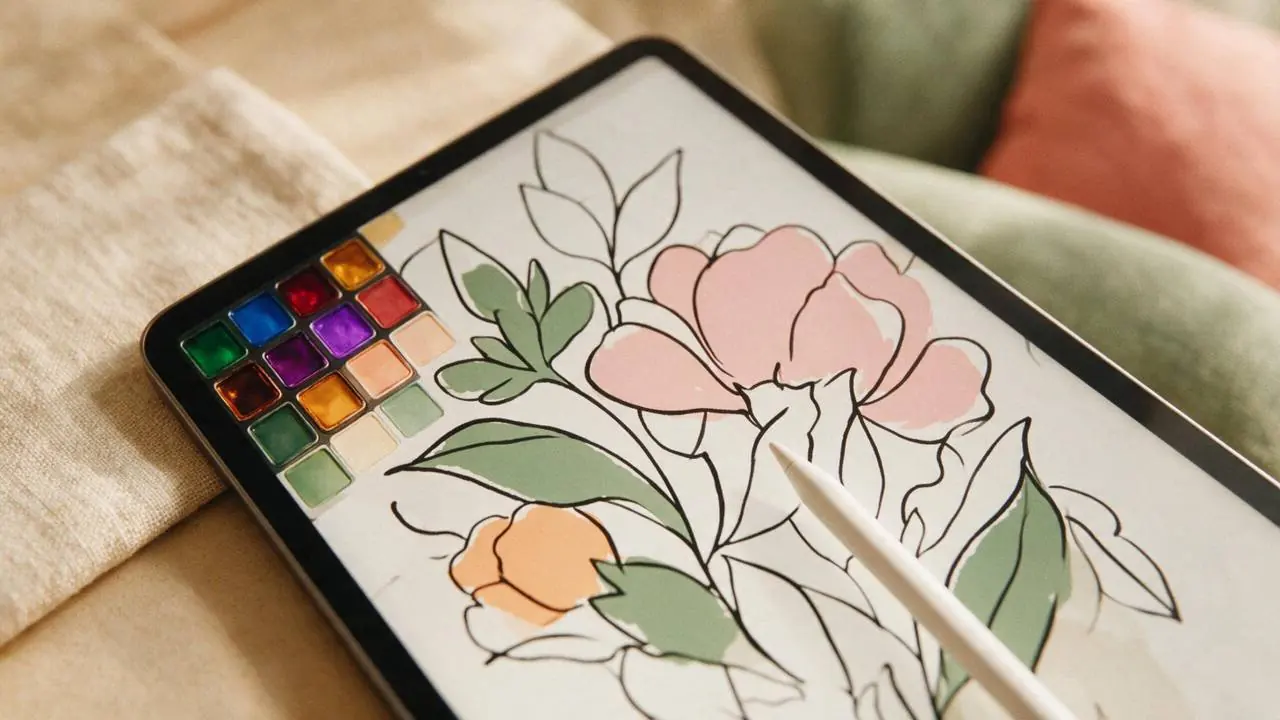
This is the single most common frustration, and it is not your fault. Printed line art is anti-aliased — the edge of every line fades from black to white over two or three pixels rather than stopping abruptly. Flood fill stops when the colour changes too much, so it stops inside that fade and leaves a pale outline around every region.
Three fixes, in order of how much I would reach for them:
- Raise the fill threshold. In Procreate, after you drop a colour, keep your finger down and slide right — the ColorDrop Threshold appears at the top of the screen. Somewhere around 70–85% usually pushes the fill right up under the line. Procreate remembers the setting for the next drop.
- Put a solid base layer underneath. Fill an entire layer with a mid-tone at the bottom of your stack. Any pinholes that survive now show that colour instead of white, and they stop being visible.
- Clean up by hand. For a handful of stubborn spots, a small hard brush on the same layer takes seconds.
If a fill floods the whole canvas instead, the region is not fully closed — there is a one-pixel gap in the outline somewhere. Undo, zoom in, draw a short stroke across the gap on the line layer, and fill again.
Printing a digital kit instead
You can absolutely print a digital paint-by-numbers canvas and paint it with real acrylics or watercolour. Print at 100% scale on heavy paper — 200 gsm minimum for acrylic, proper watercolour paper if you are using washes — and print the colour key on ordinary paper so you can keep it beside you. The printing guide covers the settings.
Is it worth it compared to a physical kit?
Different things, honestly. A physical kit gives you a canvas on the wall at the end. A digital kit gives you unlimited undo, no drying time, no cleanup, no shipping, and the ability to repaint the same artwork in completely different colours whenever you like. If you already own an iPad, the digital version costs a fraction of a physical kit and you can start the moment you buy it.
Try a canvas tonight
Journey Engine paint-by-numbers kits ship as high-resolution PNGs with a hex-coded colour key — built for Procreate and every other layered painting app.
See Neon Alley Tokyo →